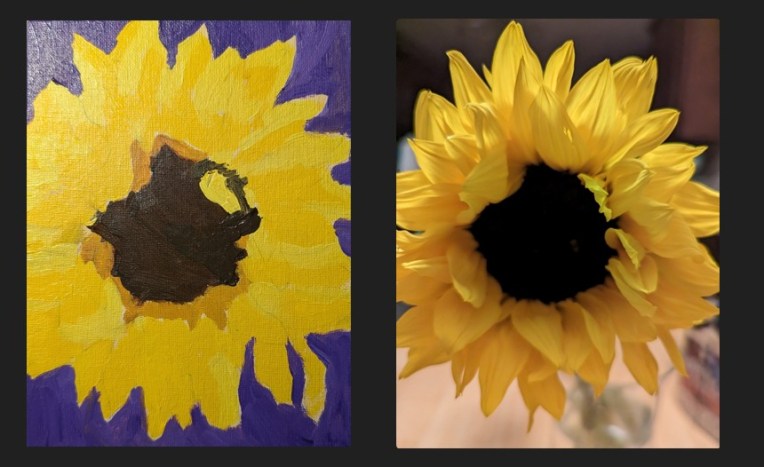
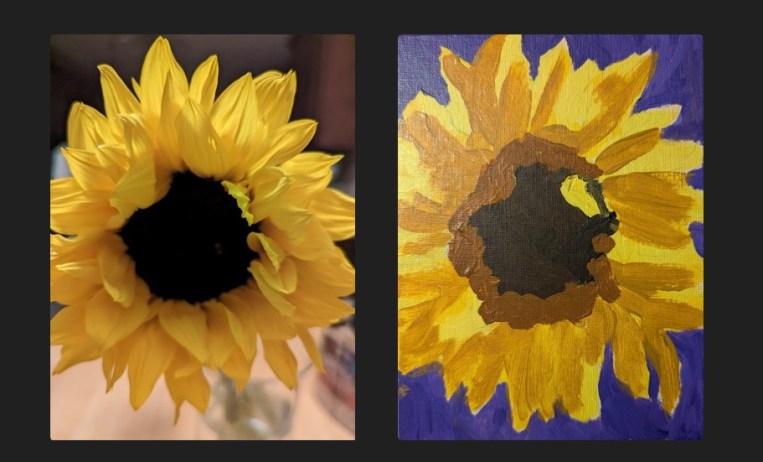
A few weeks ago I watched one of the videos on the Acrylic University site. Jed Dorsey was painting a vase of sunflowers from a reference photo (likely his own). So, tonight, I felt like painting more sunflowers and decided to just wing it mostly from memory, doing my own thing rather than copying Jed’s work, or copying the reference photo.
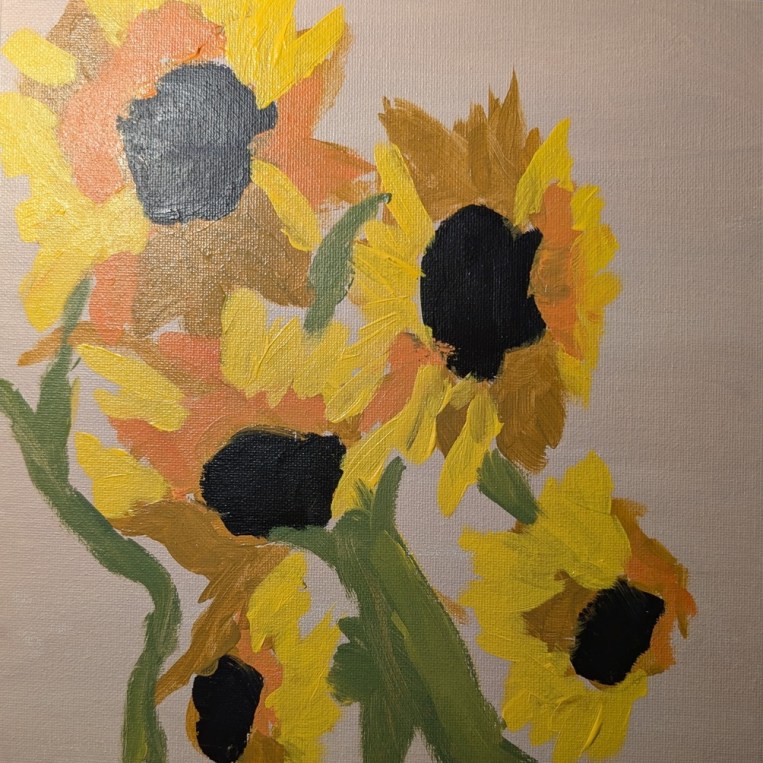
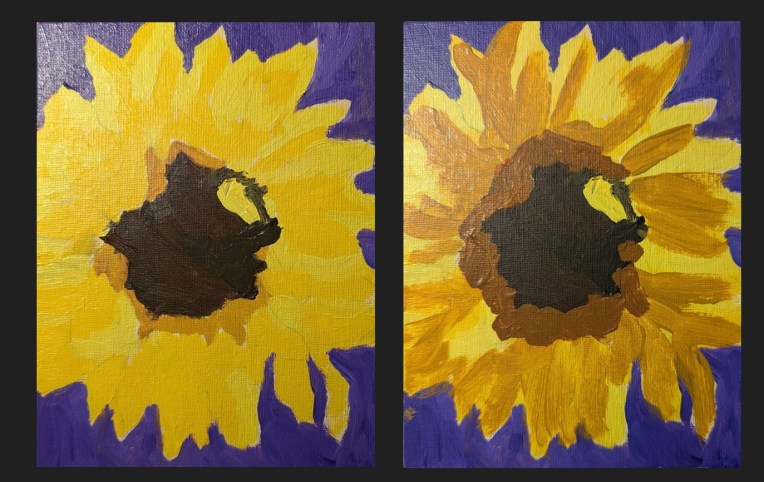
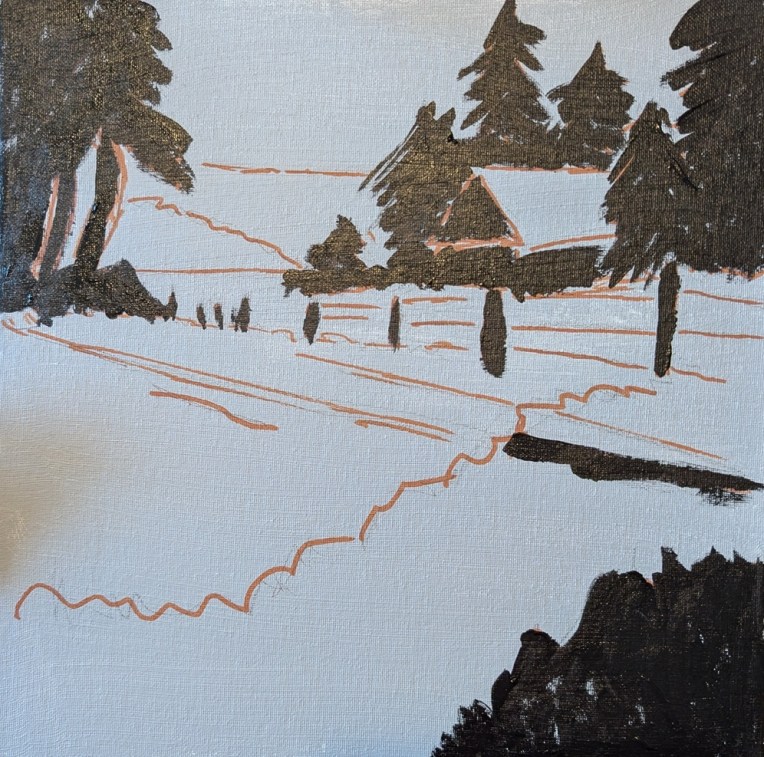
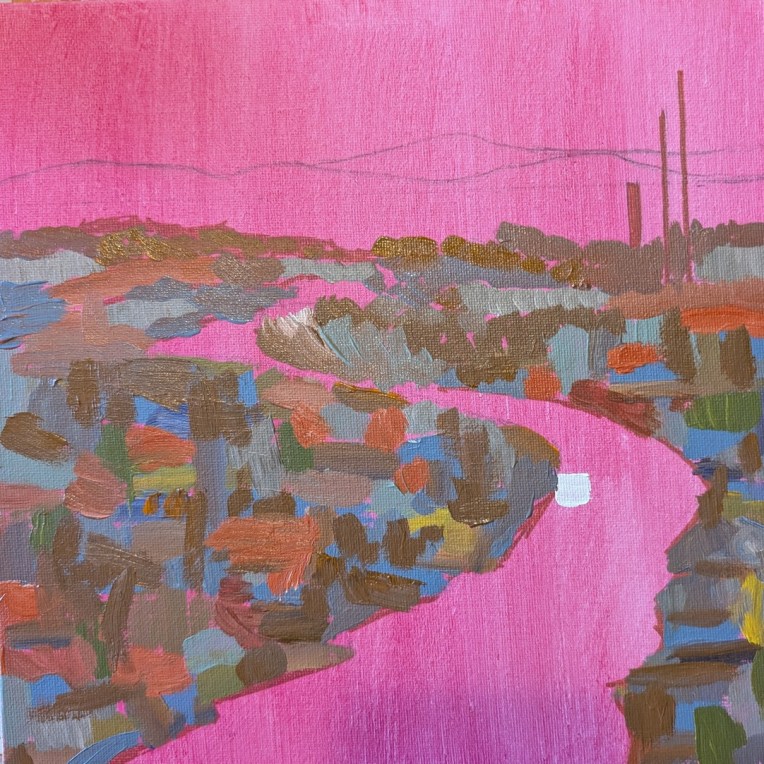
This is the result. 10×10 canvas panel toned in burnt umber and white. Colors used were naphthol crimson, cadmium yellow, ultramarine blue, and a bit of Mars Black.
This was fun! I wasn’t trying for realism or polish, just playing with paint.